 English
 中文简体
中文简体 Español
How Are Paper Cups Manufactured?
Paper cups have become an essential part of daily life, especially in food service, hospitality, and events. Their convenience, hygienic use, and disposability make them a preferred choice over reusable cups in many situations. But have you ever wondered how these simple yet effective products are made?
1. Selection of Raw Materials
The manufacturing journey begins with the selection of suitable materials. The main raw material used is food-grade paperboard, typically made from virgin wood pulp. To make the cups waterproof, one or both sides of the paper are coated with:
PE (Polyethylene): A plastic-based coating that provides liquid resistance and prevents leakage.
PLA (Polylactic Acid): A biodegradable and compostable alternative derived from corn starch, commonly used in eco-friendly paper cups.
The thickness and coating type vary depending on whether the cup is meant for hot or cold beverages.
2. Printing and Die-Cutting
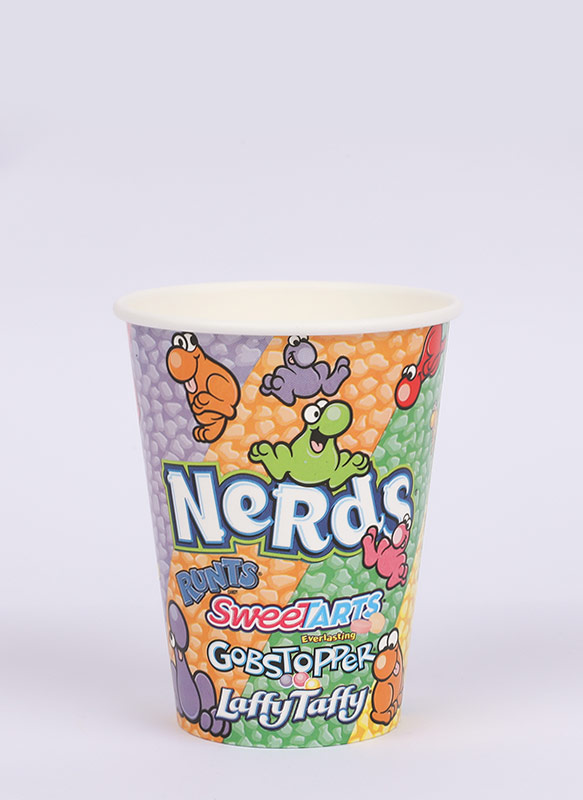
Before the paper is formed into cups, it often goes through a printing process to add branding, logos, or decorative designs. The paper is fed through flexographic or offset printing machines, which print using food-safe inks.
Once printed, the paper is die-cut into fan-shaped pieces known as blanks. These blanks will become the sidewalls of the paper cups. At the same time, circular pieces are cut out for the bottom disks of the cups.
3. Forming the Cup Body (Sidewall Sealing)
The paper blanks are fed into cup-forming machines that wrap the paper into a cylindrical shape. The side edges are sealed together to form the cup's body using:
Heat sealing: Applying heat and pressure to bond the coated surfaces.
Ultrasonic sealing: Vibrational energy is used for a fast, clean seal.
This creates the cup’s main structure and prepares it for the bottom attachment.
4. Attaching the Bottom
A bottom disk is automatically inserted into the cylindrical body. The cup-forming machine:
Aligns the bottom disk with the lower rim of the cup.
Applies heat and pressure to seal the base to the sidewalls.
Ensures that the seal is tight enough to prevent leaks even with hot or cold liquids.
Leak-proof performance is critical, and this step is tightly controlled for quality.
5. Rim Curling
After the bottom is sealed, the top edge of the cup is curled outward to form a smooth, rounded rim. This process serves several purposes:
Strengthens the structural integrity of the cup.
Provides comfort for drinking directly from the cup.
Helps lids fit securely when used for take-away beverages.
This step is done mechanically using a heated curling device.
6. Drying and Sterilization (Optional)
In some factories—especially those producing cups for medical or export use—the finished cups may be passed through hot air tunnels or UV sterilization chambers. This ensures the cups are hygienic and free from contaminants before packaging.
7. Quality Inspection
Each batch of paper cups is subjected to strict quality control checks, which may include:
Leakage tests by filling the cups with liquid and observing over time.
Dimension checks to ensure uniform size and shape.
Weight checks to detect any material inconsistencies.
Visual inspections to ensure there are no defects or deformations.
Automated inspection systems are also commonly used to speed up the process.
8. Packing and Distribution
After inspection, the cups are stacked, counted, and packed into plastic sleeves or cardboard boxes. Packing takes place in a cleanroom or sanitary environment to maintain hygiene. Once packed, the cups are sealed, labeled, and ready for delivery to customers worldwide.
Custom Packaging Made Easy
From concept to delivery, our team ensures your custom packaging needs are met with efficient communication and professional service.
-
 01
01
Briefing
-

-
 02
02
Material & Structure
-
-
 03
03
Artwork & Printing
-
-
 04
04
Sampling
-
-
 05
05
Testing & Approval
-
-
 06
06
Production & Delivery
-
-
Suzhou Accum Packaging Co., Ltd.
Contact us
TEL: +86 512 6378 6312 TEL: +86 182 6183 5029 Add: Zhujiabang, Zhenze Town, Wujiang District, Suzhou city, Jiangsu Province, China -
Quick Link
Home Products About Us Solutions News Contact Us -
Products Links
Paper Cup Paper Container Retail Shelf Packaging Paper Tray Paper Bucket Accessory Latest Stainless Bottle -
News
Embossed Paper Cup: A Simple Guide to Adding Texture and Style to Your Cups Round Paper Bowl Guide: Sizes, Materials, Hot vs. Cold Use, and Eco-Friendly Options Bamboo-Based Food-Service Packaging Solutions -
Mobile
